|
The first day that I walked into the classroom, I was eager to begin right away because I've loved photography for as long as I can remember. Just the idea of documenting memories is cool to me. When Mr. O'Donnell first told us to go out and take some pictures, I thought that it would be simple as finding an object that you wanted to photograph and pressing the shutter release button, but I was wrong. There are so many things that you need to know in order to take a good photo. In just these past 3 months, I've learned so much in digital photography. Before this class, I didn't even know that adjusting the aperture was a thing. I learned how to use photoshop and the different tools to use to create an endless amount of results to change a picture. Looking back on the first day of school to now, I've definitely improved on my photogrpahy skills and I now know what settings on the camers to set for different scenes. Here are some of my photos from the beginning of the year. In all of them, they're too dark and/or out of focus.
0 Comments
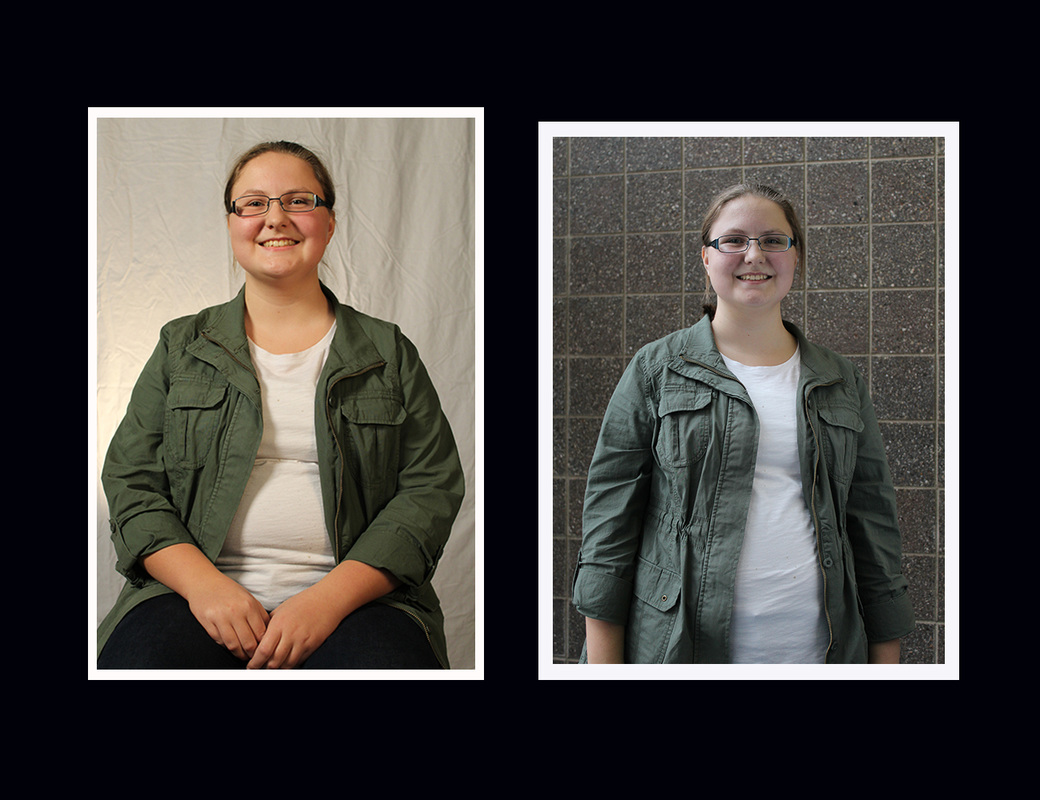
For this assignment we had to take pictures of a person in various spots within one setting. Then we had to put the photos into photoshop and create the final product using the layer mask tool as well as some others. 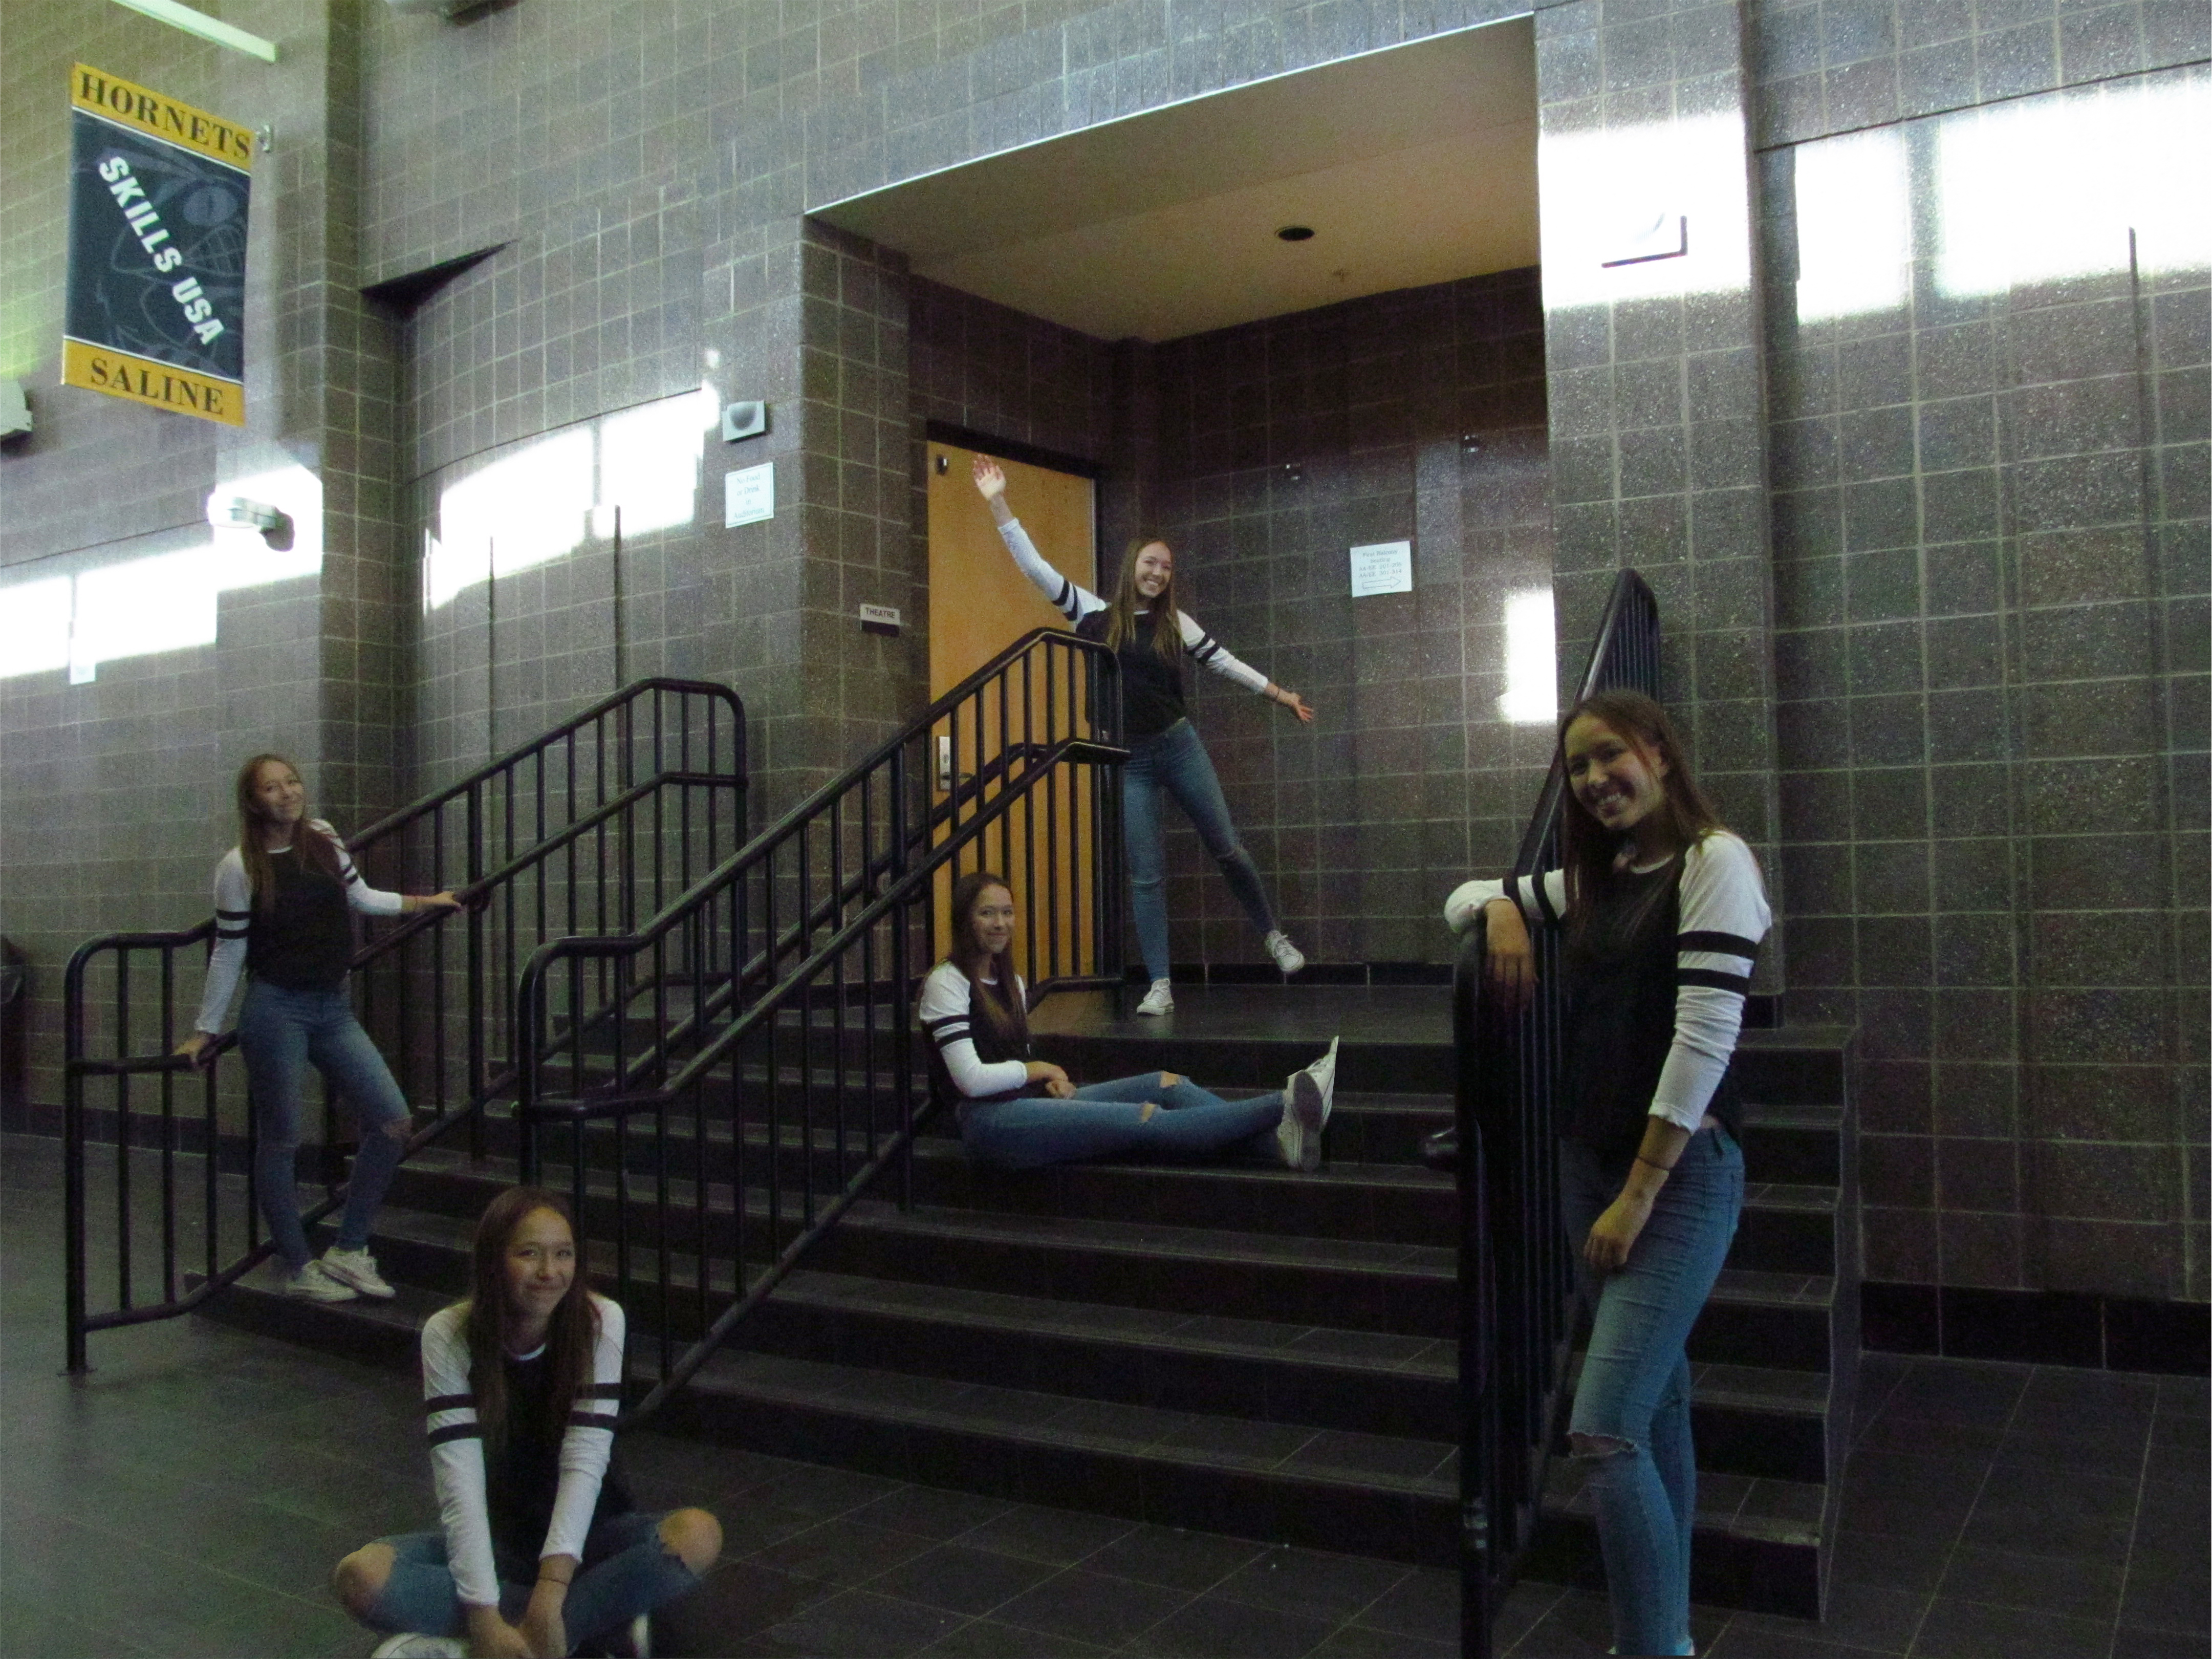 During this assignment, I learned how to duplicate an image and how to create multiple of one object. I used the paint tool at the very end to erase some of the discoloration from copying in another picture.
This week I chose to take pictures of "still life". I used different lights to mock studio lights by using my makeup mirror with a light, and the ceiling light. Some of them didn't turn out the way I was hoping, but I'm still fairly happy with the results. 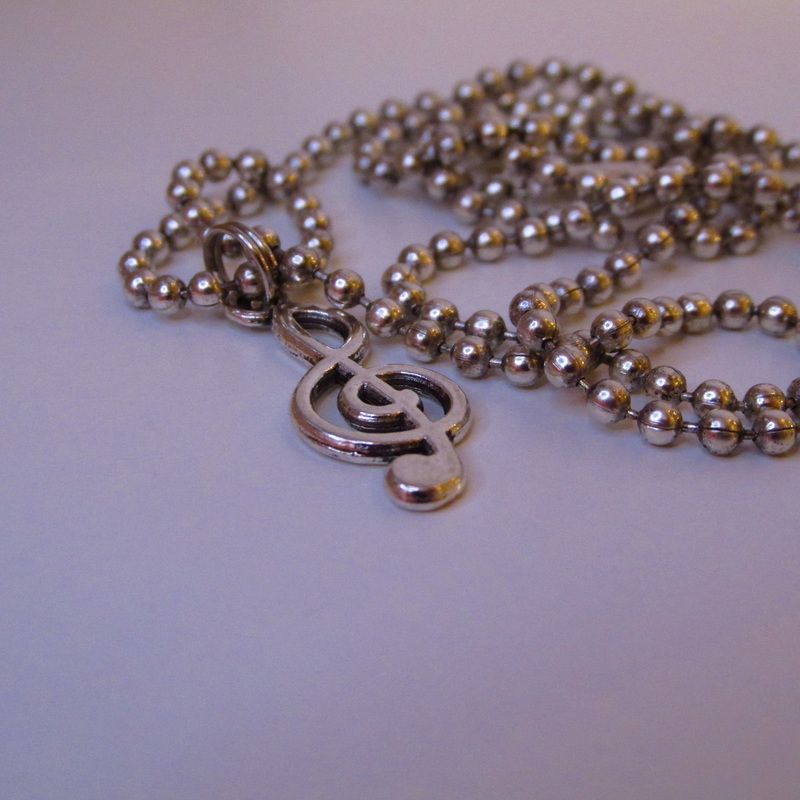 BEST PHOTO Shutter Speed: 1/15 Aperture: 4.0 ISO: 400 During this assignment, I learned that it's very difficult to get really good lighting to mock studio lights. Before I used my makeup mirror light, the photos I took had a yellow hue to them. The ring light around my makeup mirror was the same hue as the studio ring light so I decided to use it and it made my pictures turn out a lot better.
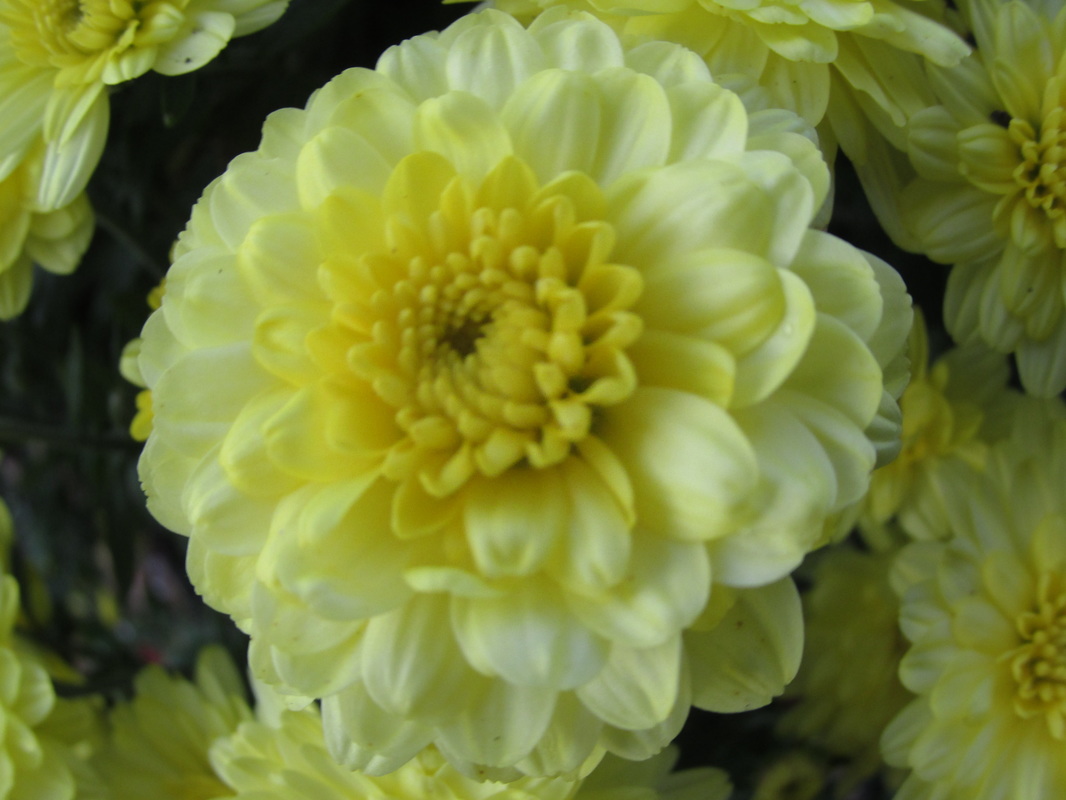
Over the weekend I decided to take pictures of food. I noticed that there were some pears on our kitchen counter, and I thought they looked very photogenic. Later in the day I received a box a chocolates and I wanted to take a picture of them before I ate the whole thing. Although the picture of the pears is my best photo, there is still a lot going on in the background that I'm not happy with. 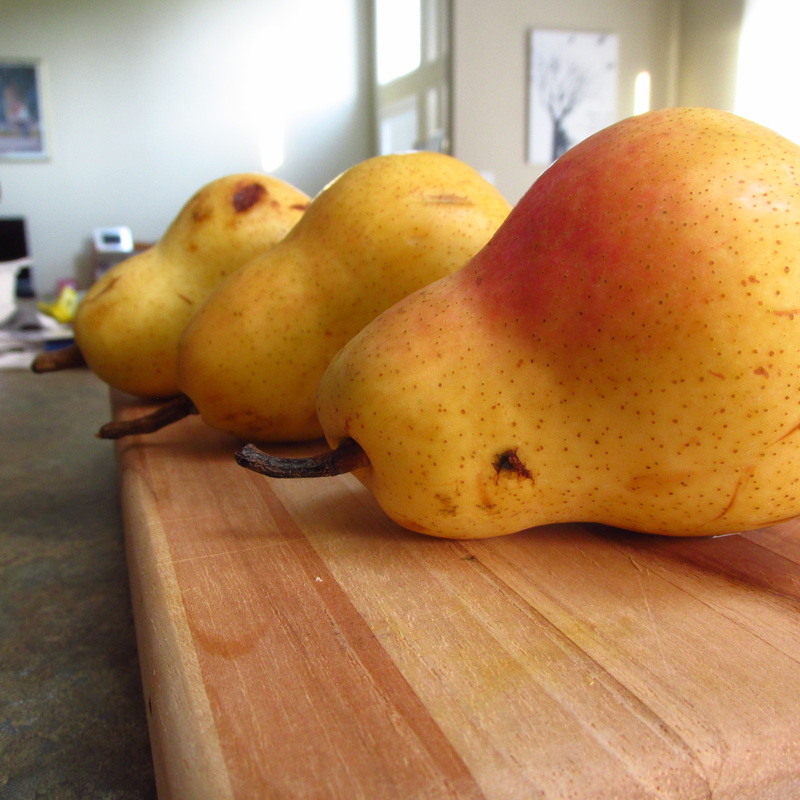 BEST PHOTO Shutter Speed: 1/10 Aperture: 3.5 ISO: 200 During this assignment, I learned that good lighting is vital for all pictures. Most of my pictures came out with a yellow-ish tint because of the lighting environment I was in.
For this assignment, we had to take a picture of the school. (Or with the school in the background) We then had to photoshop the picture and add different things to it to change its context. Sort of like "warped reality". 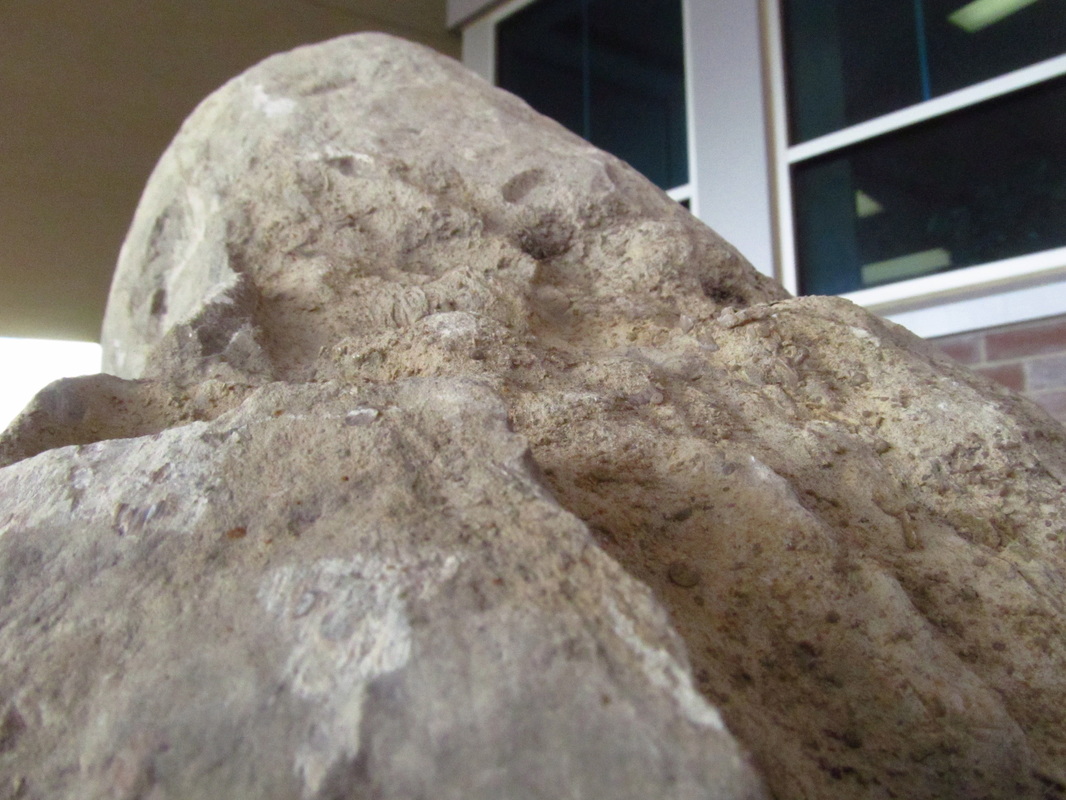 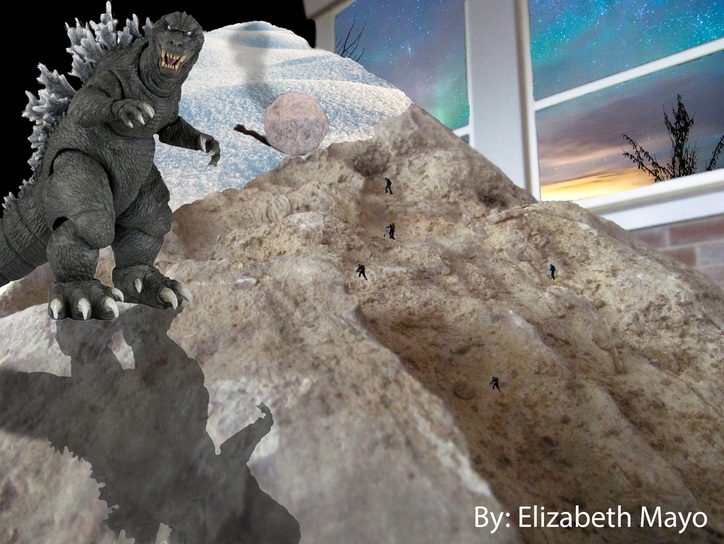 While editing this photo, I learned how to do many more techniques in photoshop. I learned how to add a shadow to an object, add a different background etc.
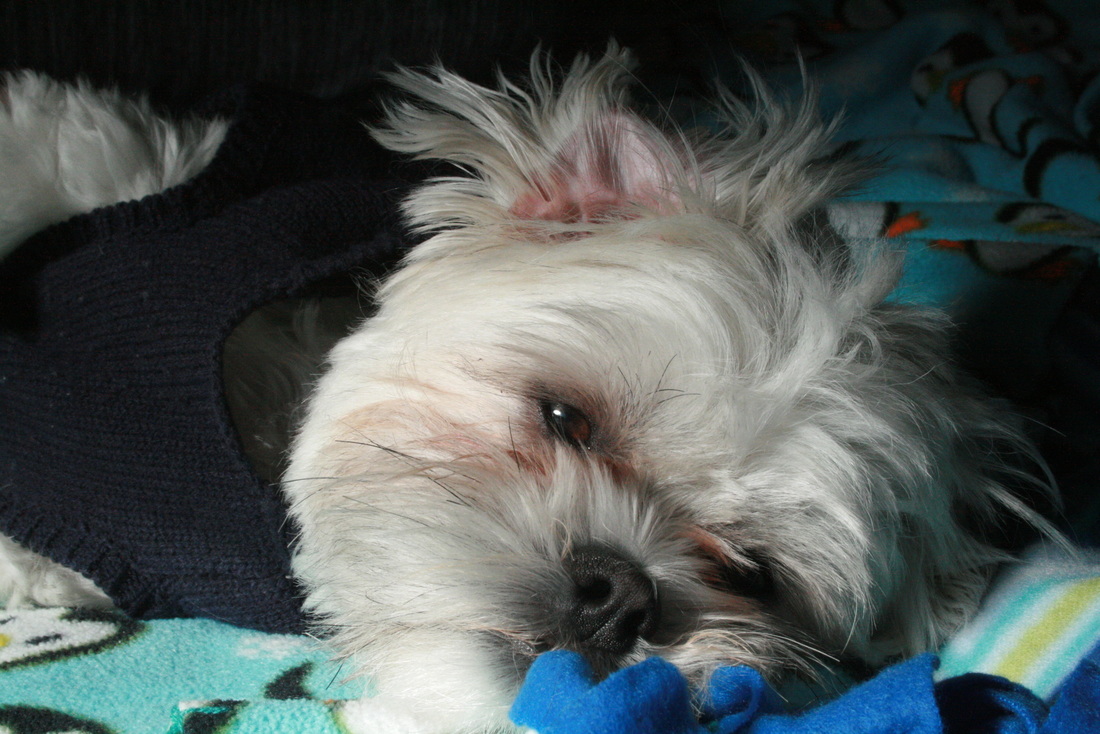
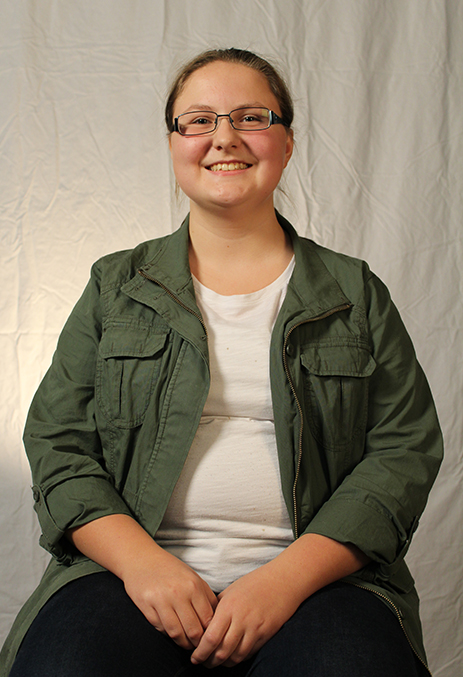
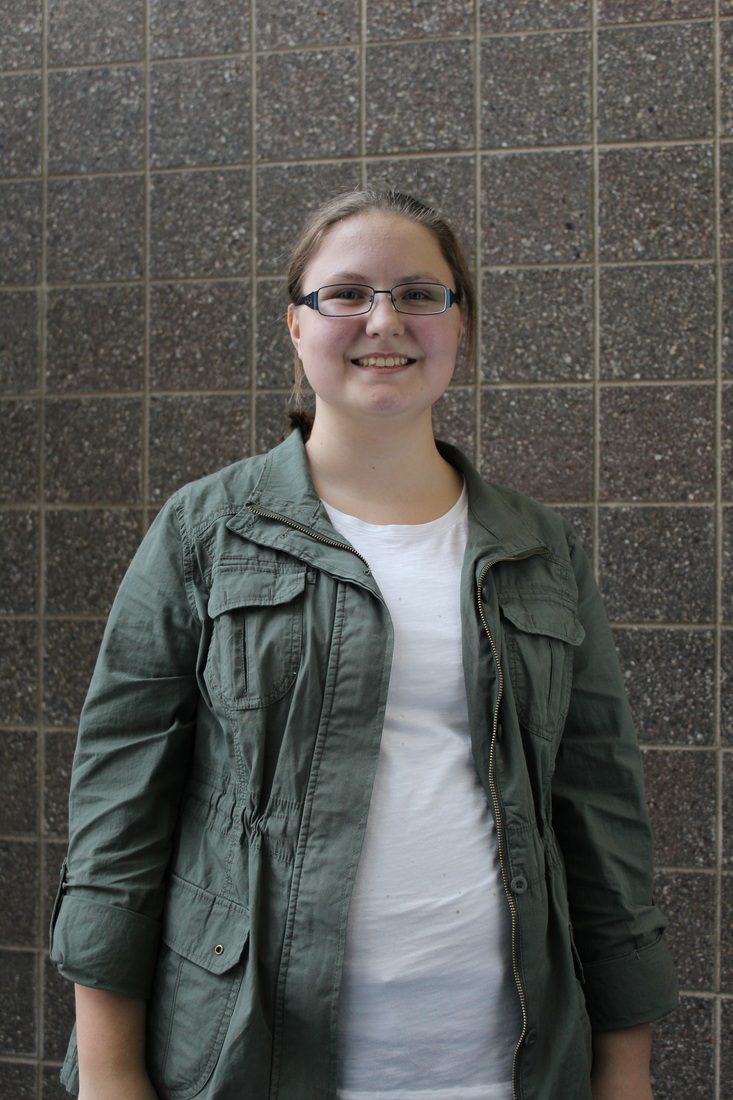
This week for photo 5, i decided to take pictures of shadows and light. I started of by taking pictures of shadows around the school, but eventually moved on to my string lights. I had to make the aperture number small when I was taking pictures of the lights, because I kept the lights off in order to keep the mood of the lights.  BEST PHOTO Shutter Speed: 1/200 Aperture: 3.4 ISO: 800 This week we had to take portrait pictures. We went to the studio to take pictures of somebody using the studio lights and back drop. We also had to use the natural sunlight and use a bounce card to reflect the sunlight onto the subject's face.
 While I was editing these photos, I learned how to put a frame around photos and then how to paste them onto a different layer. While we were in the studio, I learned how to set up the lights in the studio, and how to use a bounce card.
 BEST PHOTO Shutter Speed: 1/320 Aperture: 16.0 ISO: 1600 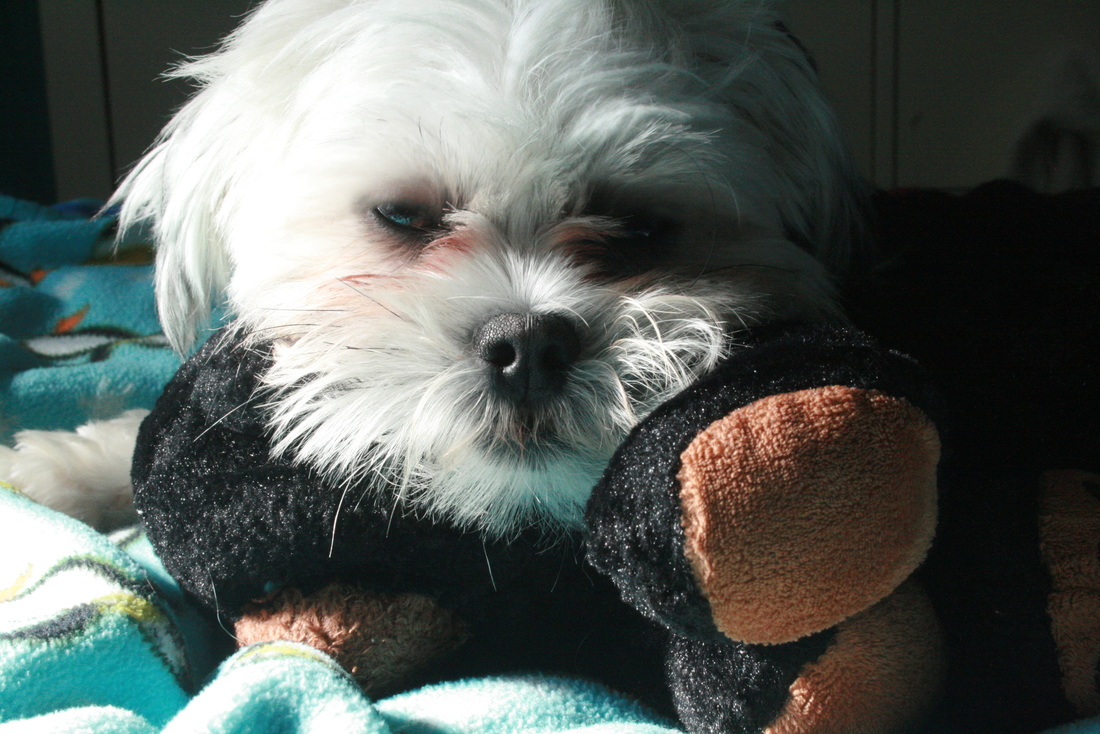 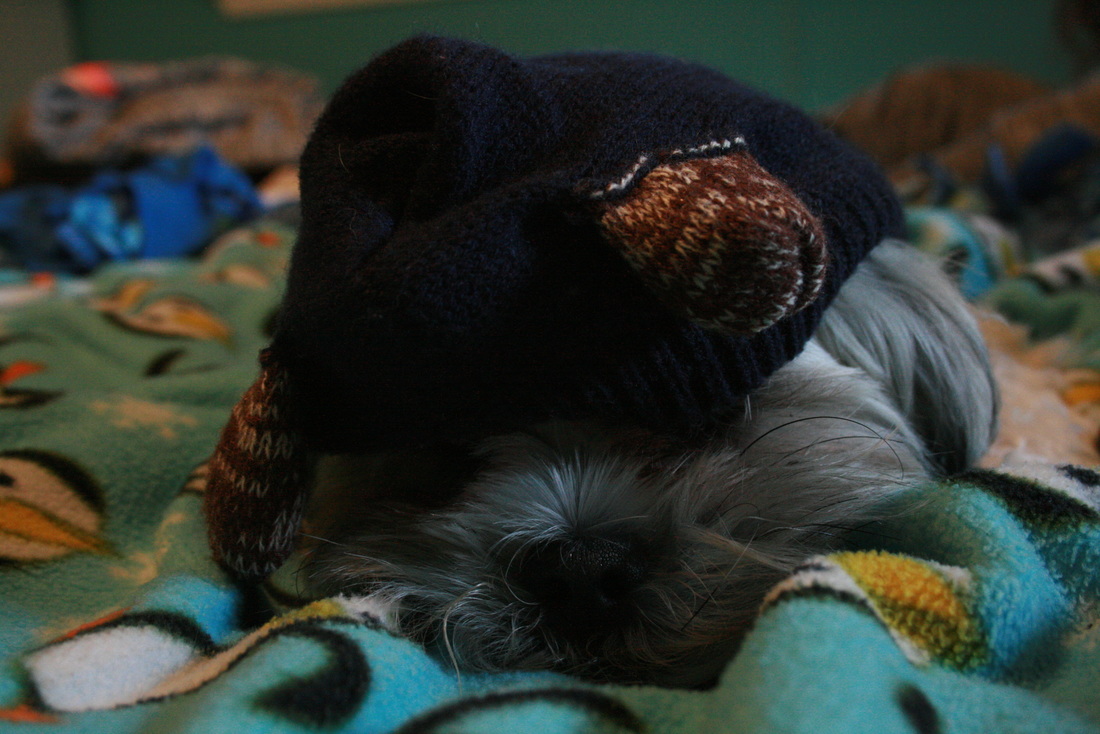  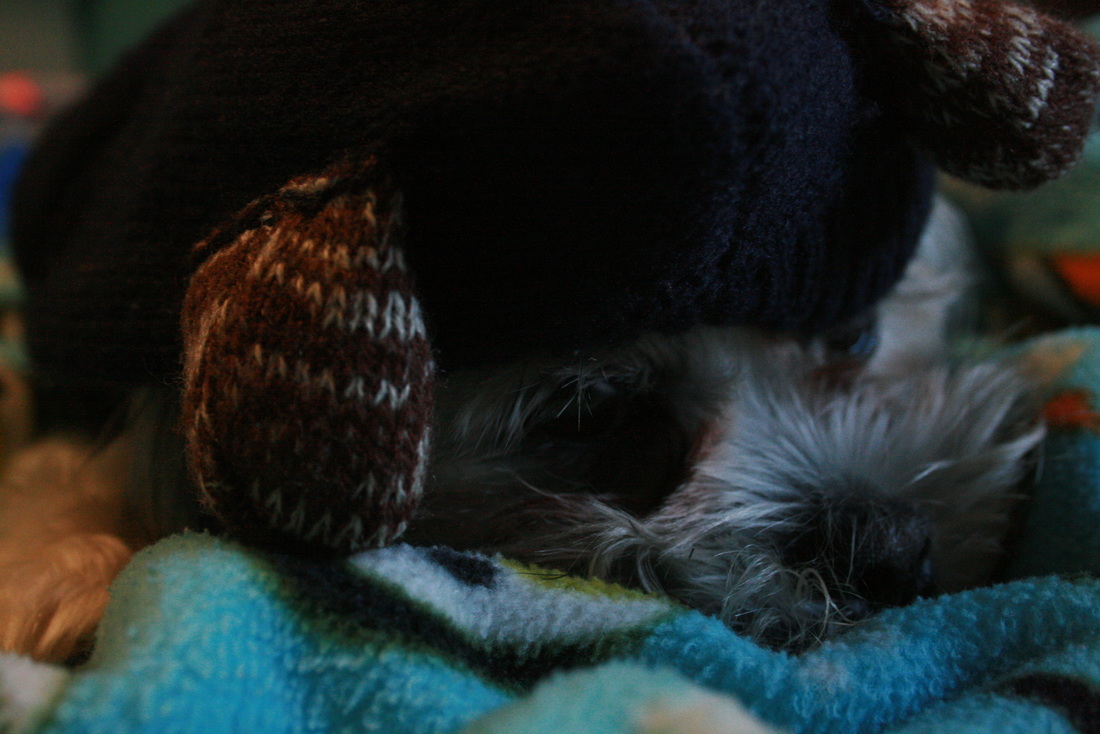 For this assignment, we had to take pictures and mend them together using photoshop to create a full panoramic photograph. I learned how to use and setup a tripod, and how to stitch pictures together on photoshop to complete the pictures. 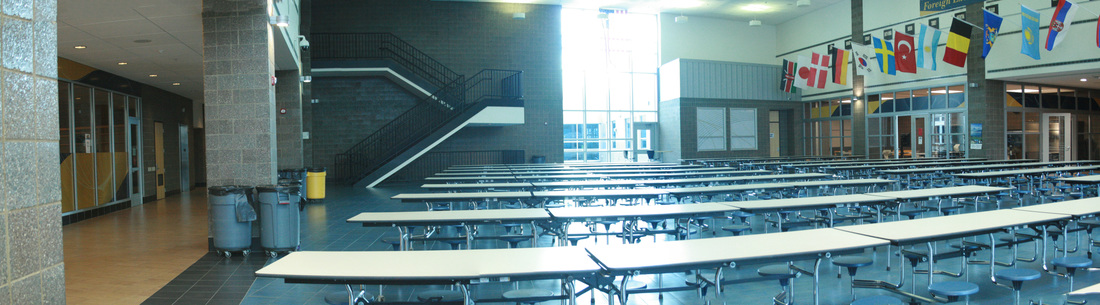 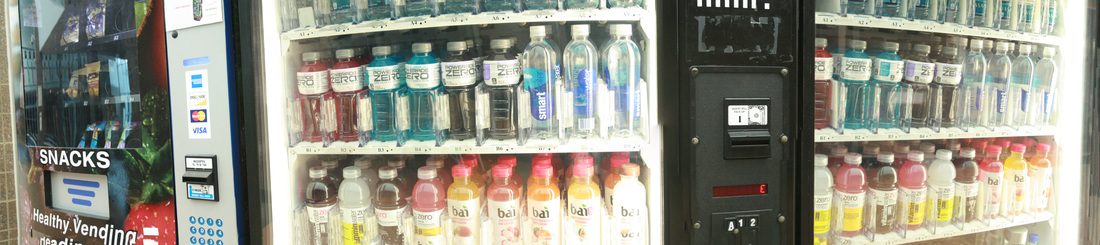 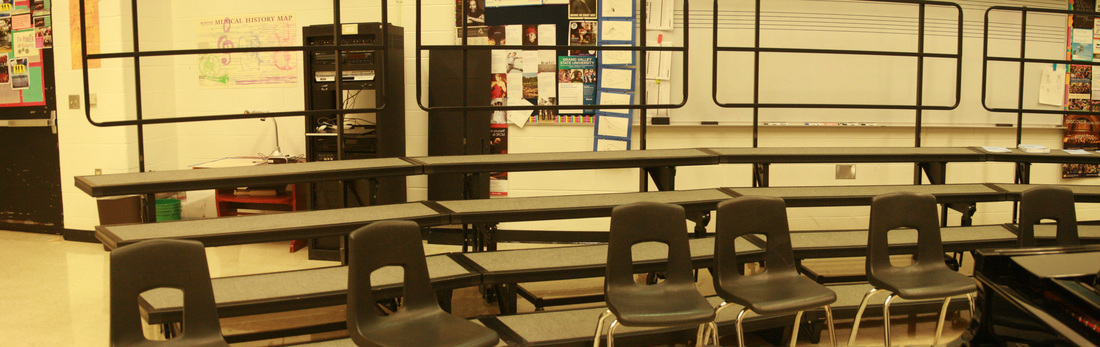 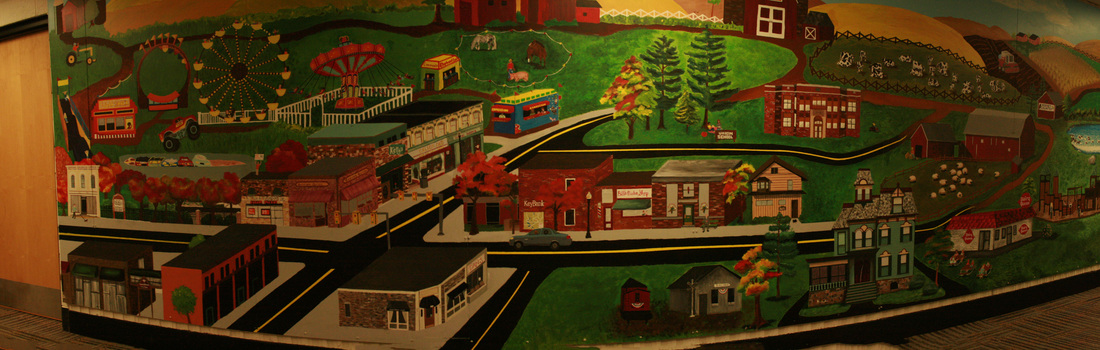 This week, I chose to turn recent pictures into black and white, or partially black and white. I used photoshop to edit my pictures and turn them into black and white pictures.  BEST PHOTO
Shutter Speed: 1/125 Aperture: 5.0 ISO: 400 |
AuthorWrite something about yourself. No need to be fancy, just an overview. Archives
November 2016
Categories |
 RSS Feed
